Setting Up Okta SSO
This document outlines the steps required to set up Okta SSO with StepSecurity.
You can follow this interactive demo to get started with setting up Okta SSO:
Setup Instructions
Step 1: Configure SAML Settings
On the StepSecurity App navigate to Admin Console → Security & Auth → Configure SSO → Okta

Copy the values displayed here
Step 2: Log in to Okta
Log in to the Okta Admin Console
Navigate to Applications > Applications from the left sidebar.

Step 3: Create App Integration
Click on Create App Integration on the Applications page.

Step 4: Choose SAML 2.0
Select SAML 2.0 as the Sign-in method, then click Next.

Step 5: Configure General Settings
On the General Settings page:
Enter the App name as StepSecurity.
Optionally, add the StepSecurity logo:
Click Next to continue.

Step 6: Configure SAML Settings
Paste the values you obtained from the StepSecurity App into the corresponding fields in Okta

Step 6: Add Attribute Statement
Under Attribute Statements, add the following field:
email → user.email

Step 7: Add Group Attribute Statements
Scroll down to ‘Group Attribute Statements’ and add following field.
Set Name as ‘Groups’
We recommend creating dedicated Okta groups for StepSecurity, such as
StepSecurity-AdministratorsandStepSecurity-Auditors. Follow the instructions below to set them up:
How to Setup StepSecurity Okta Groups
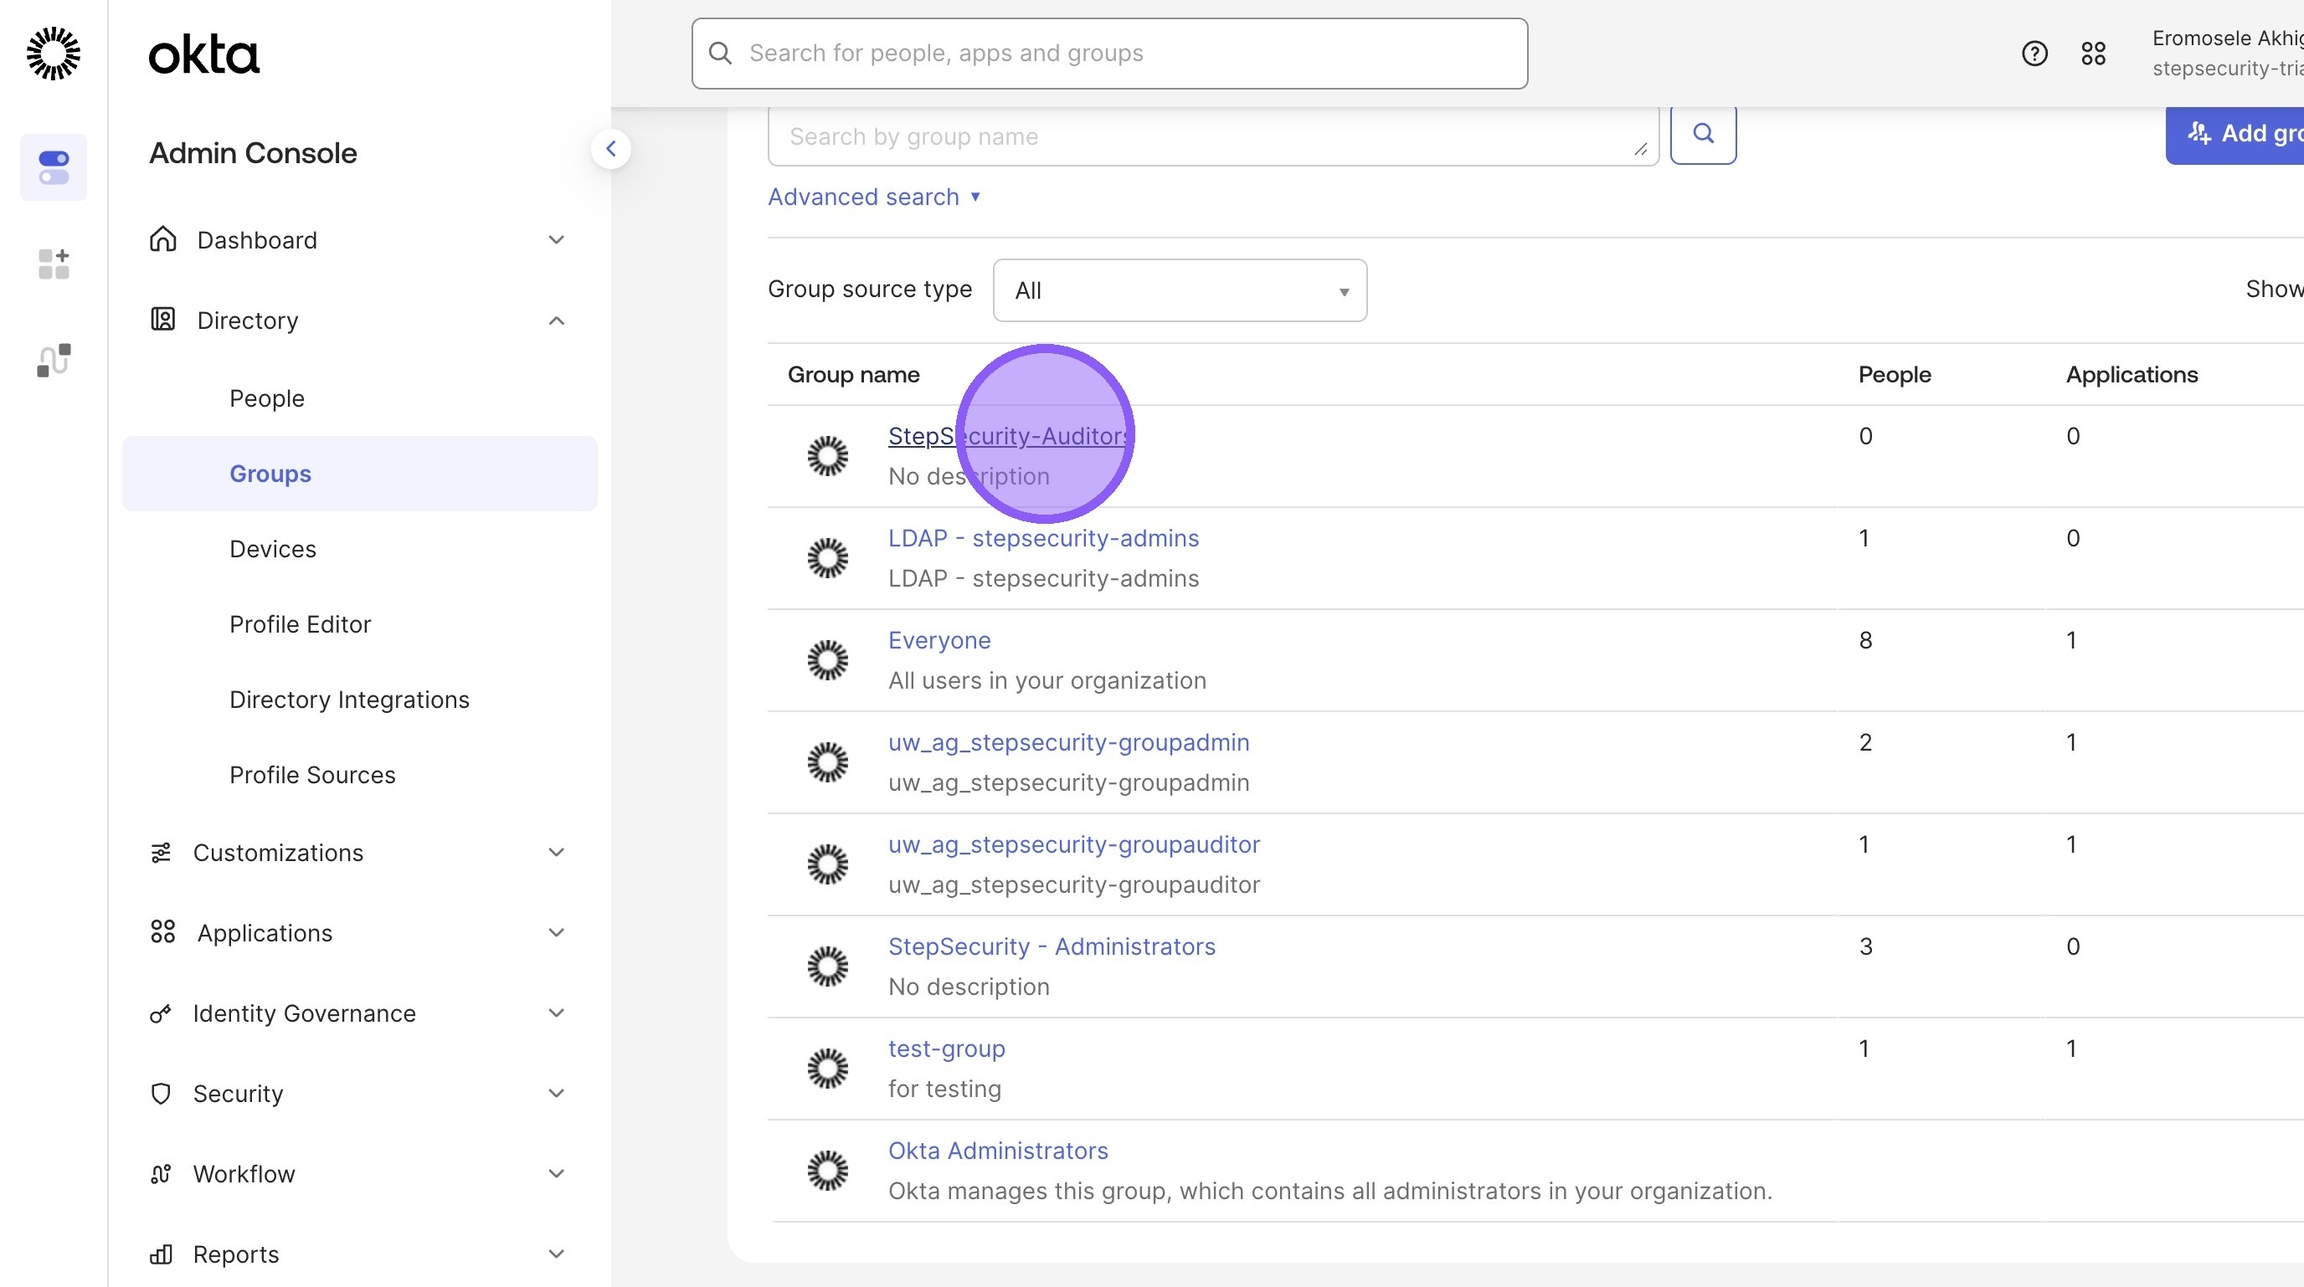
Navigate to the Admin Console in your Okta dashboard and select Groups
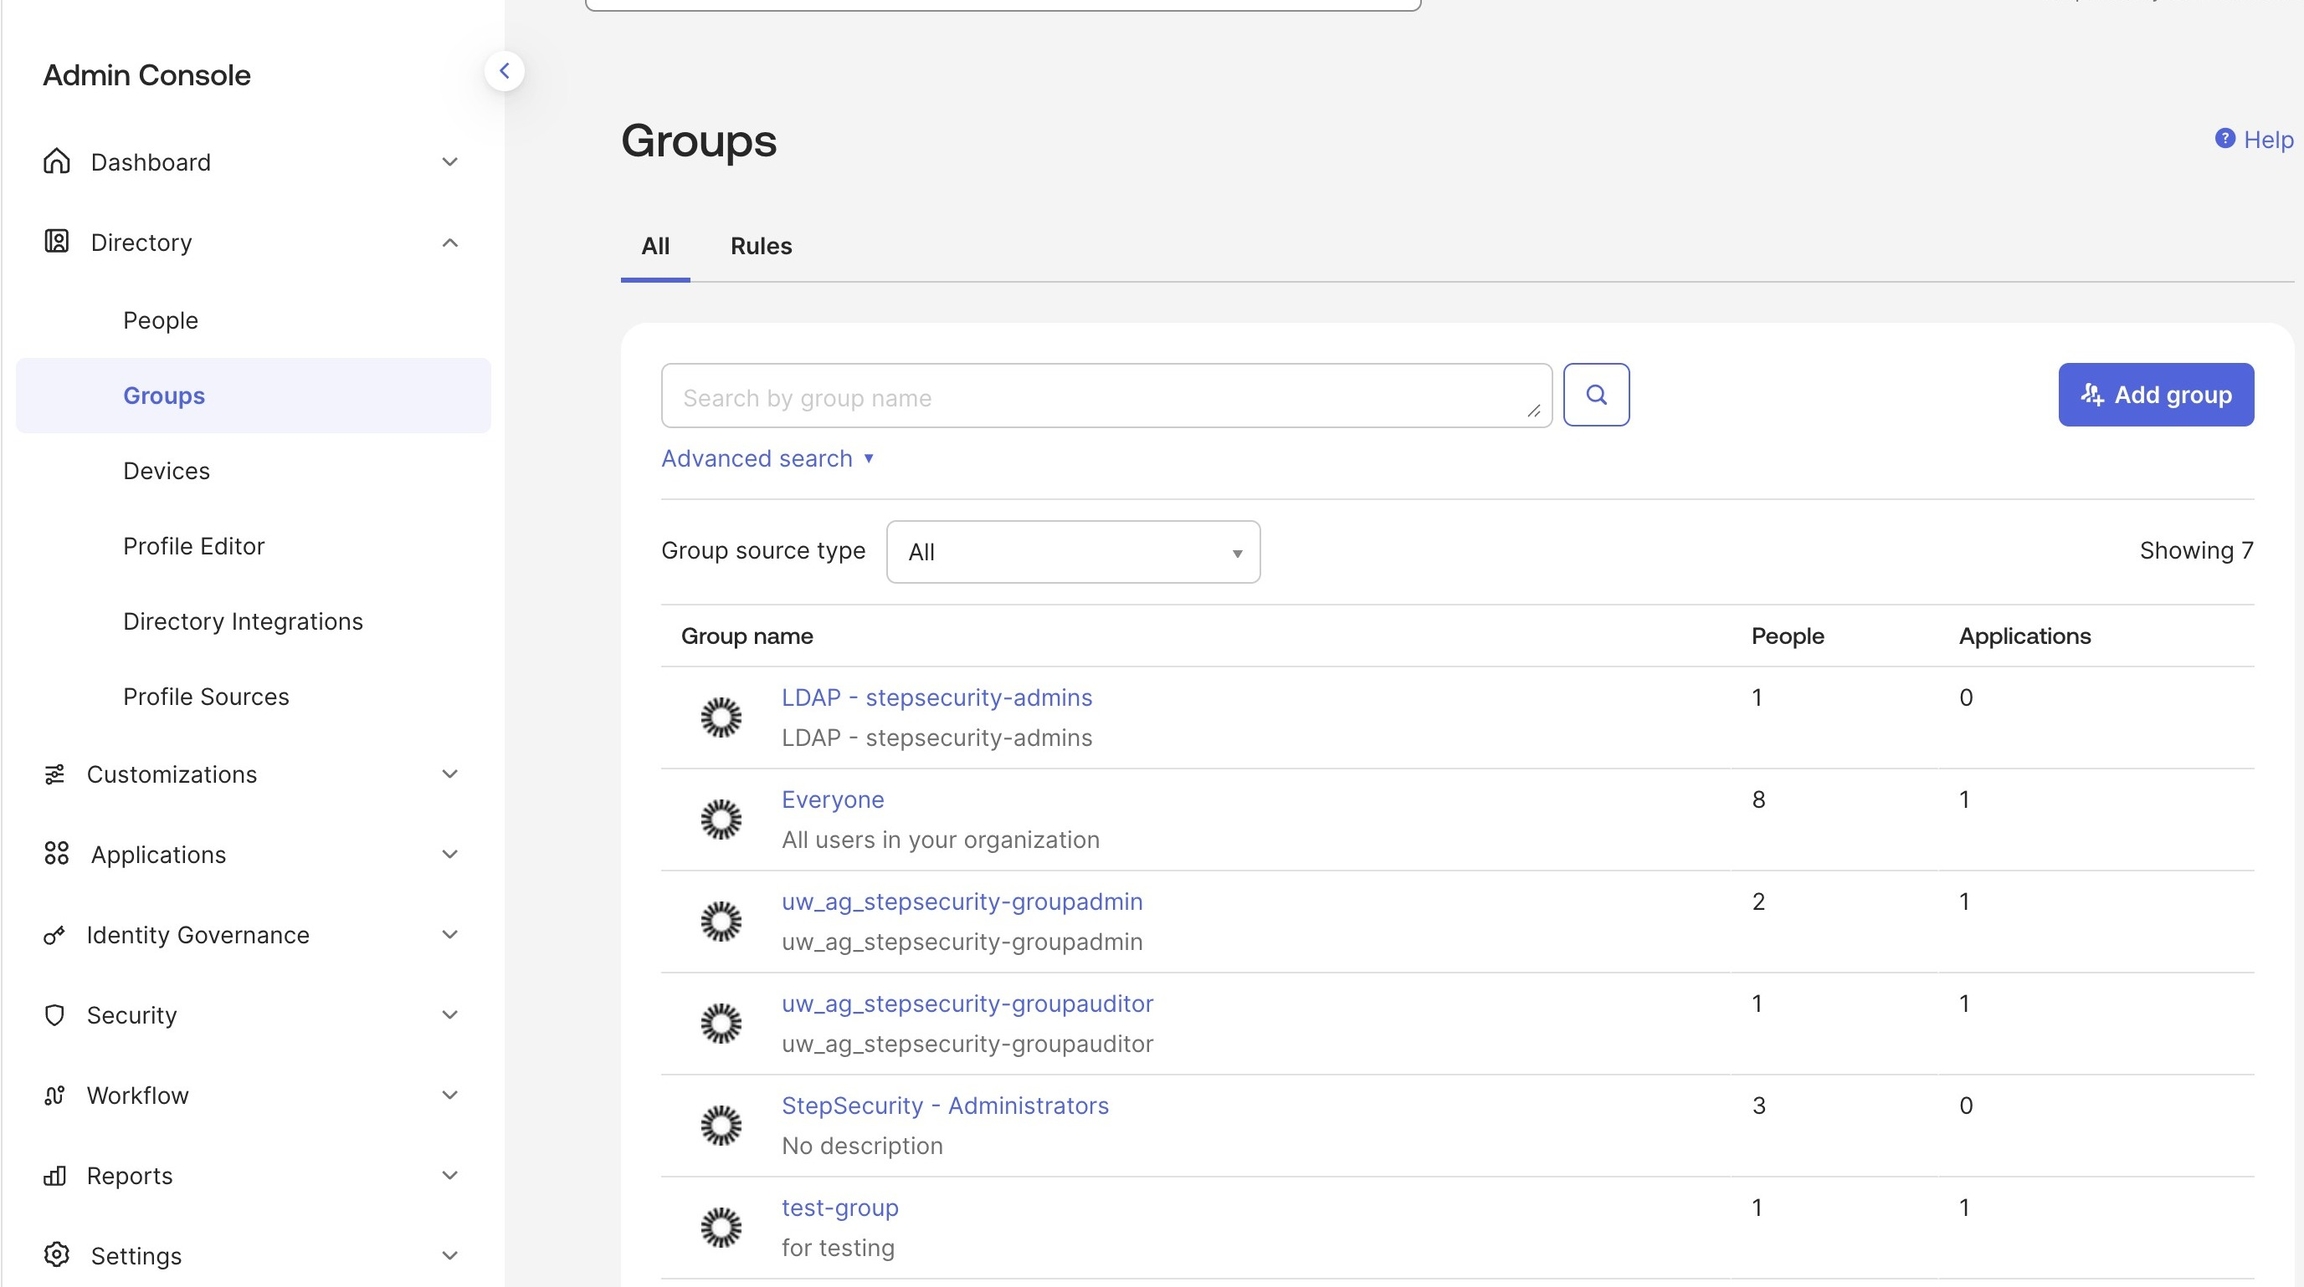
2. Click "Add group"
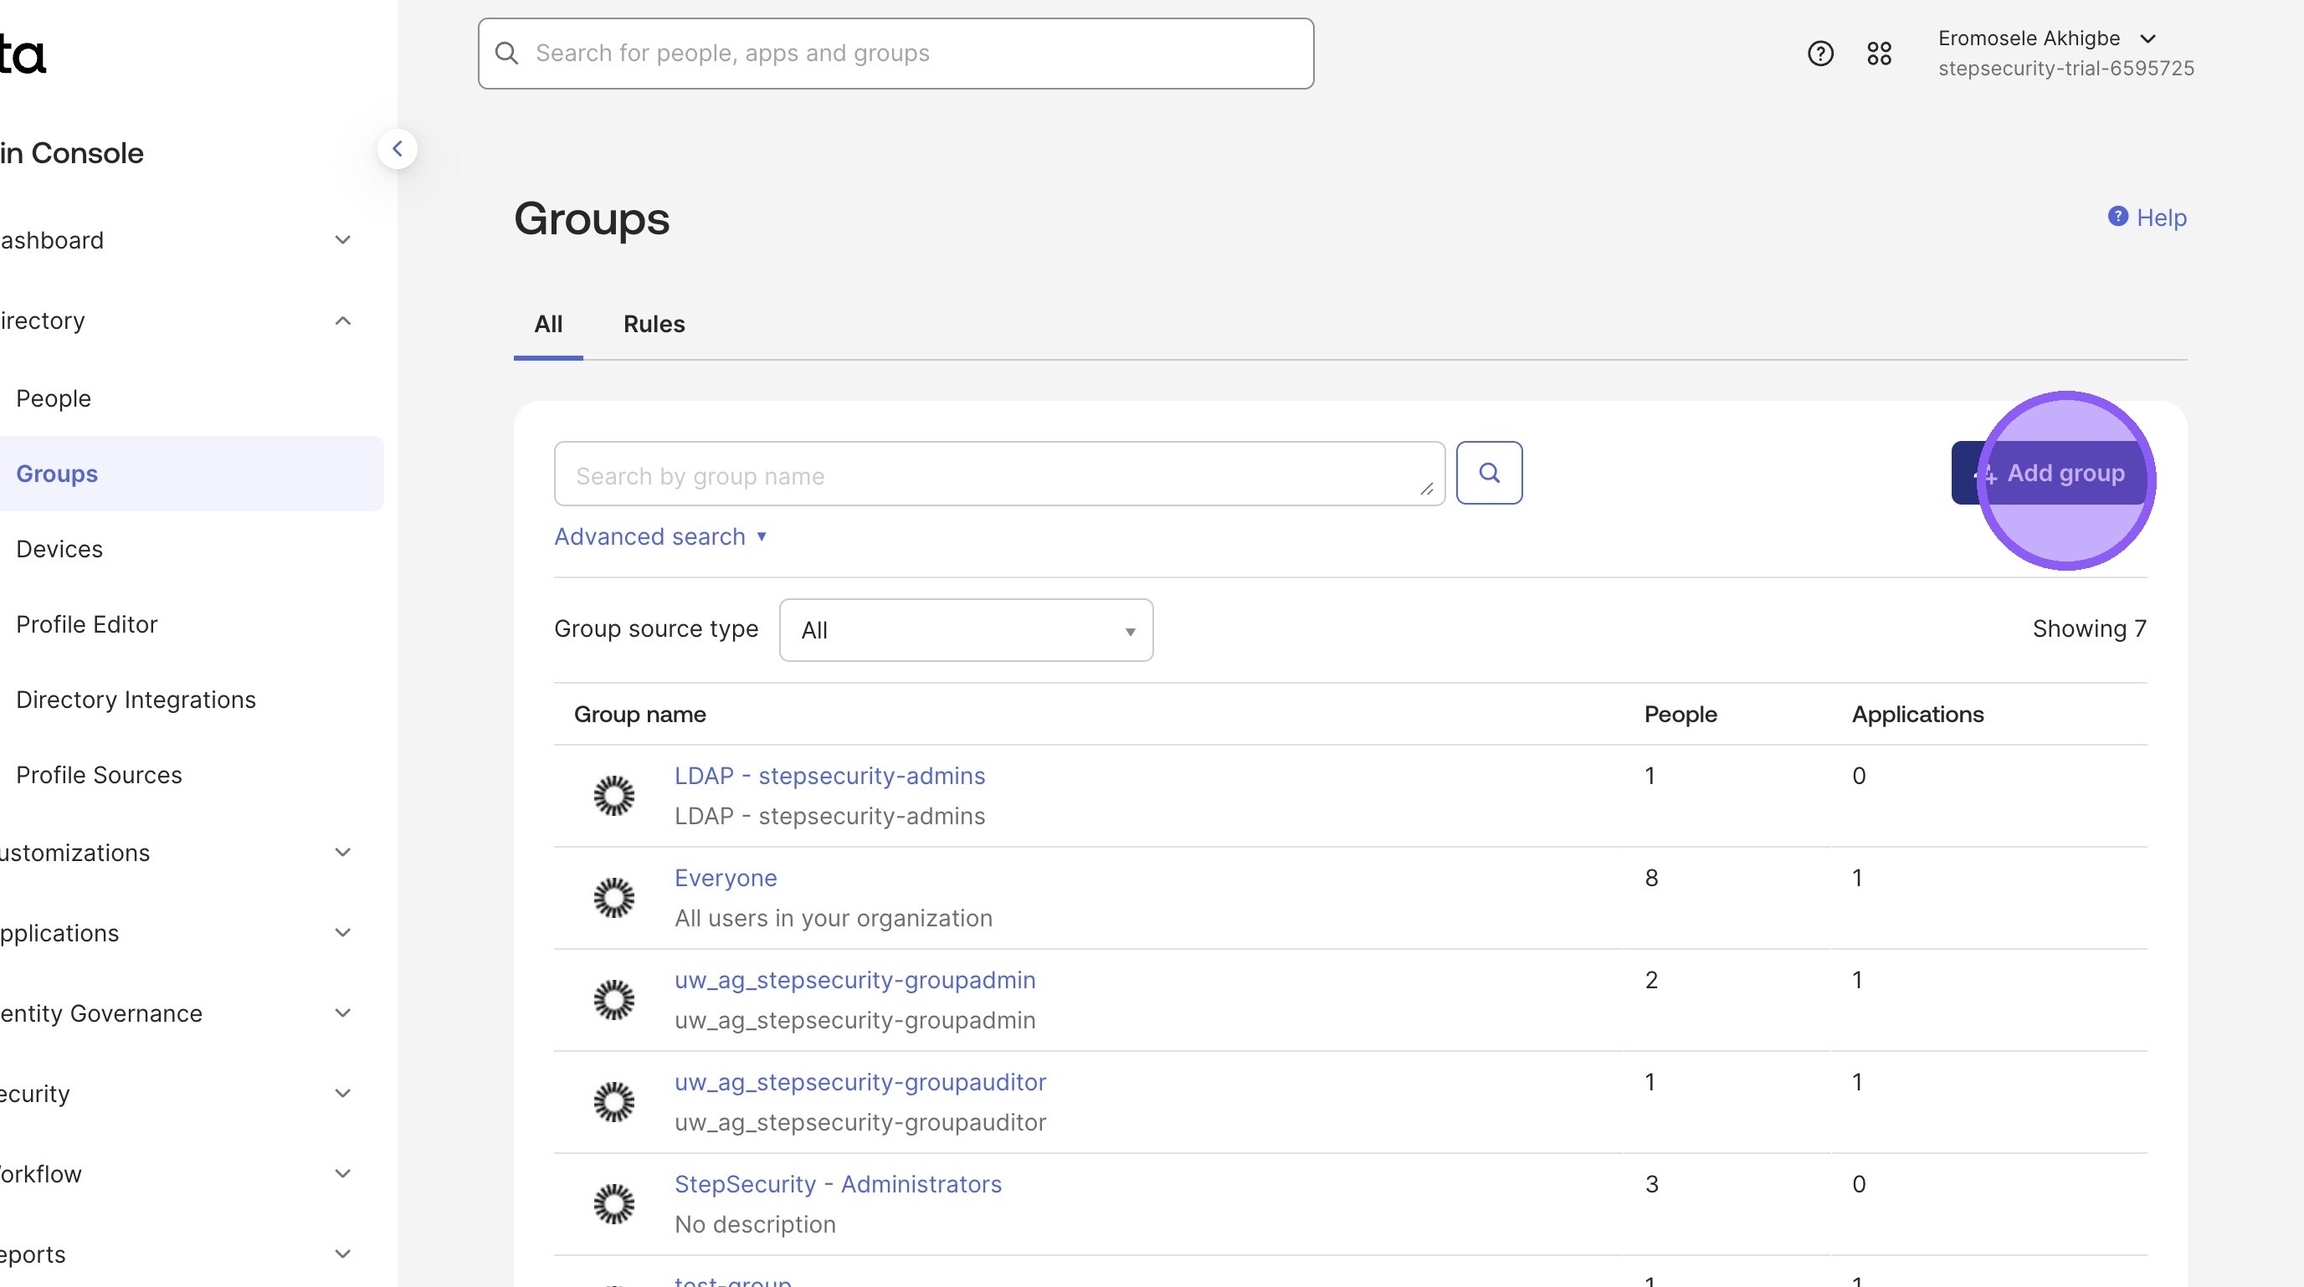
Enter
StepSecurity-Auditorsas the group name. (Usually there are two groups that should be createdStepSecurity-Administratorsis the second one
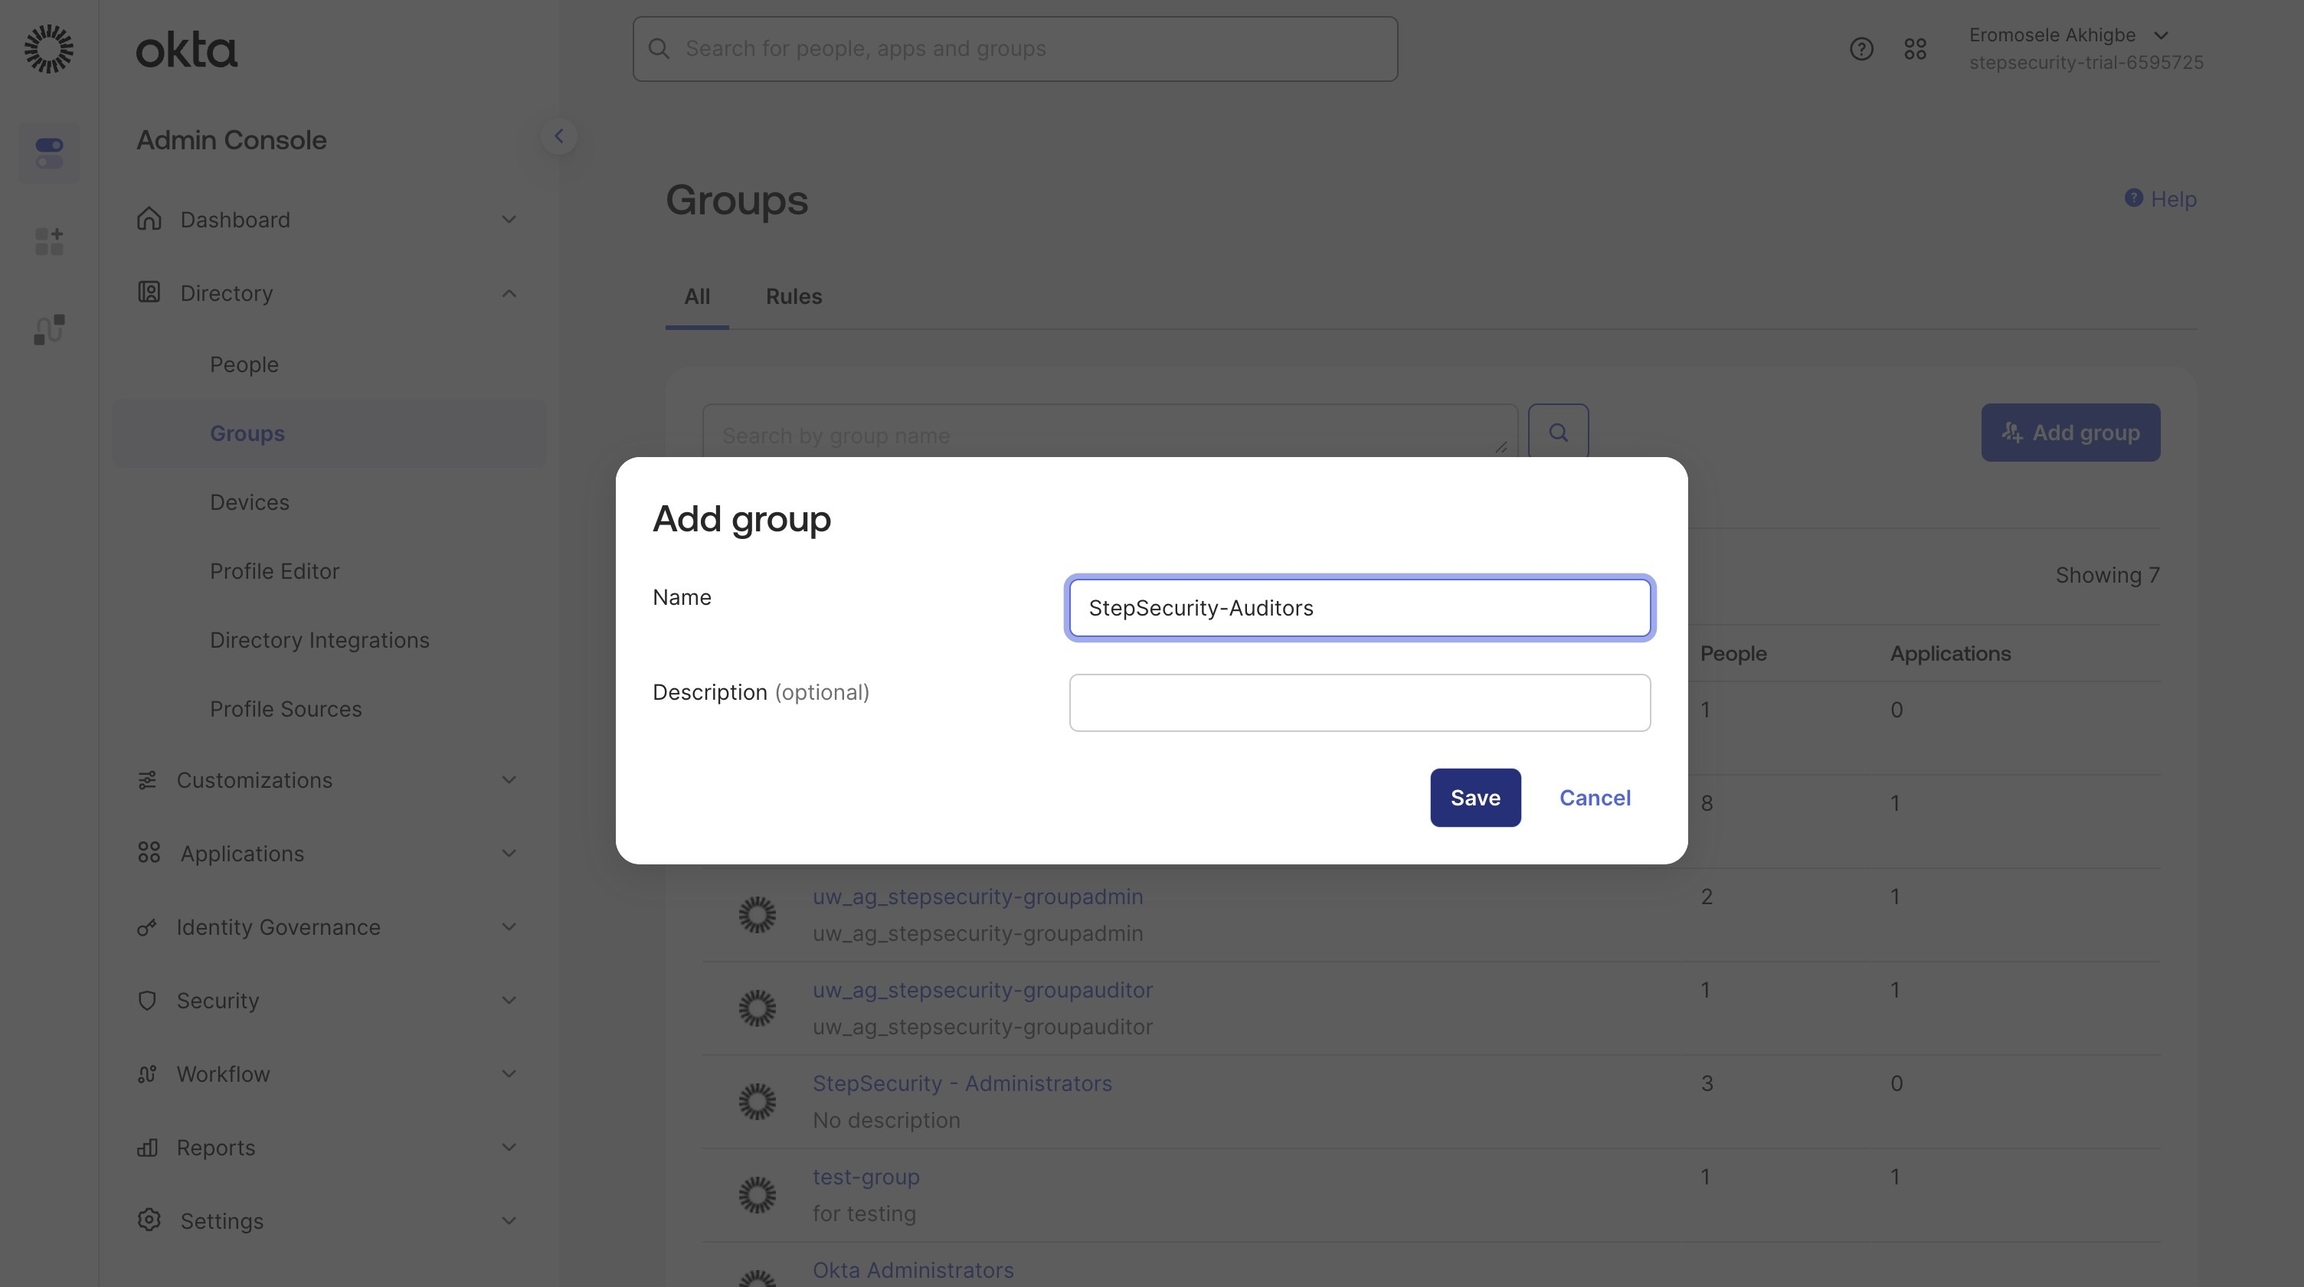
4. Click "Submit"
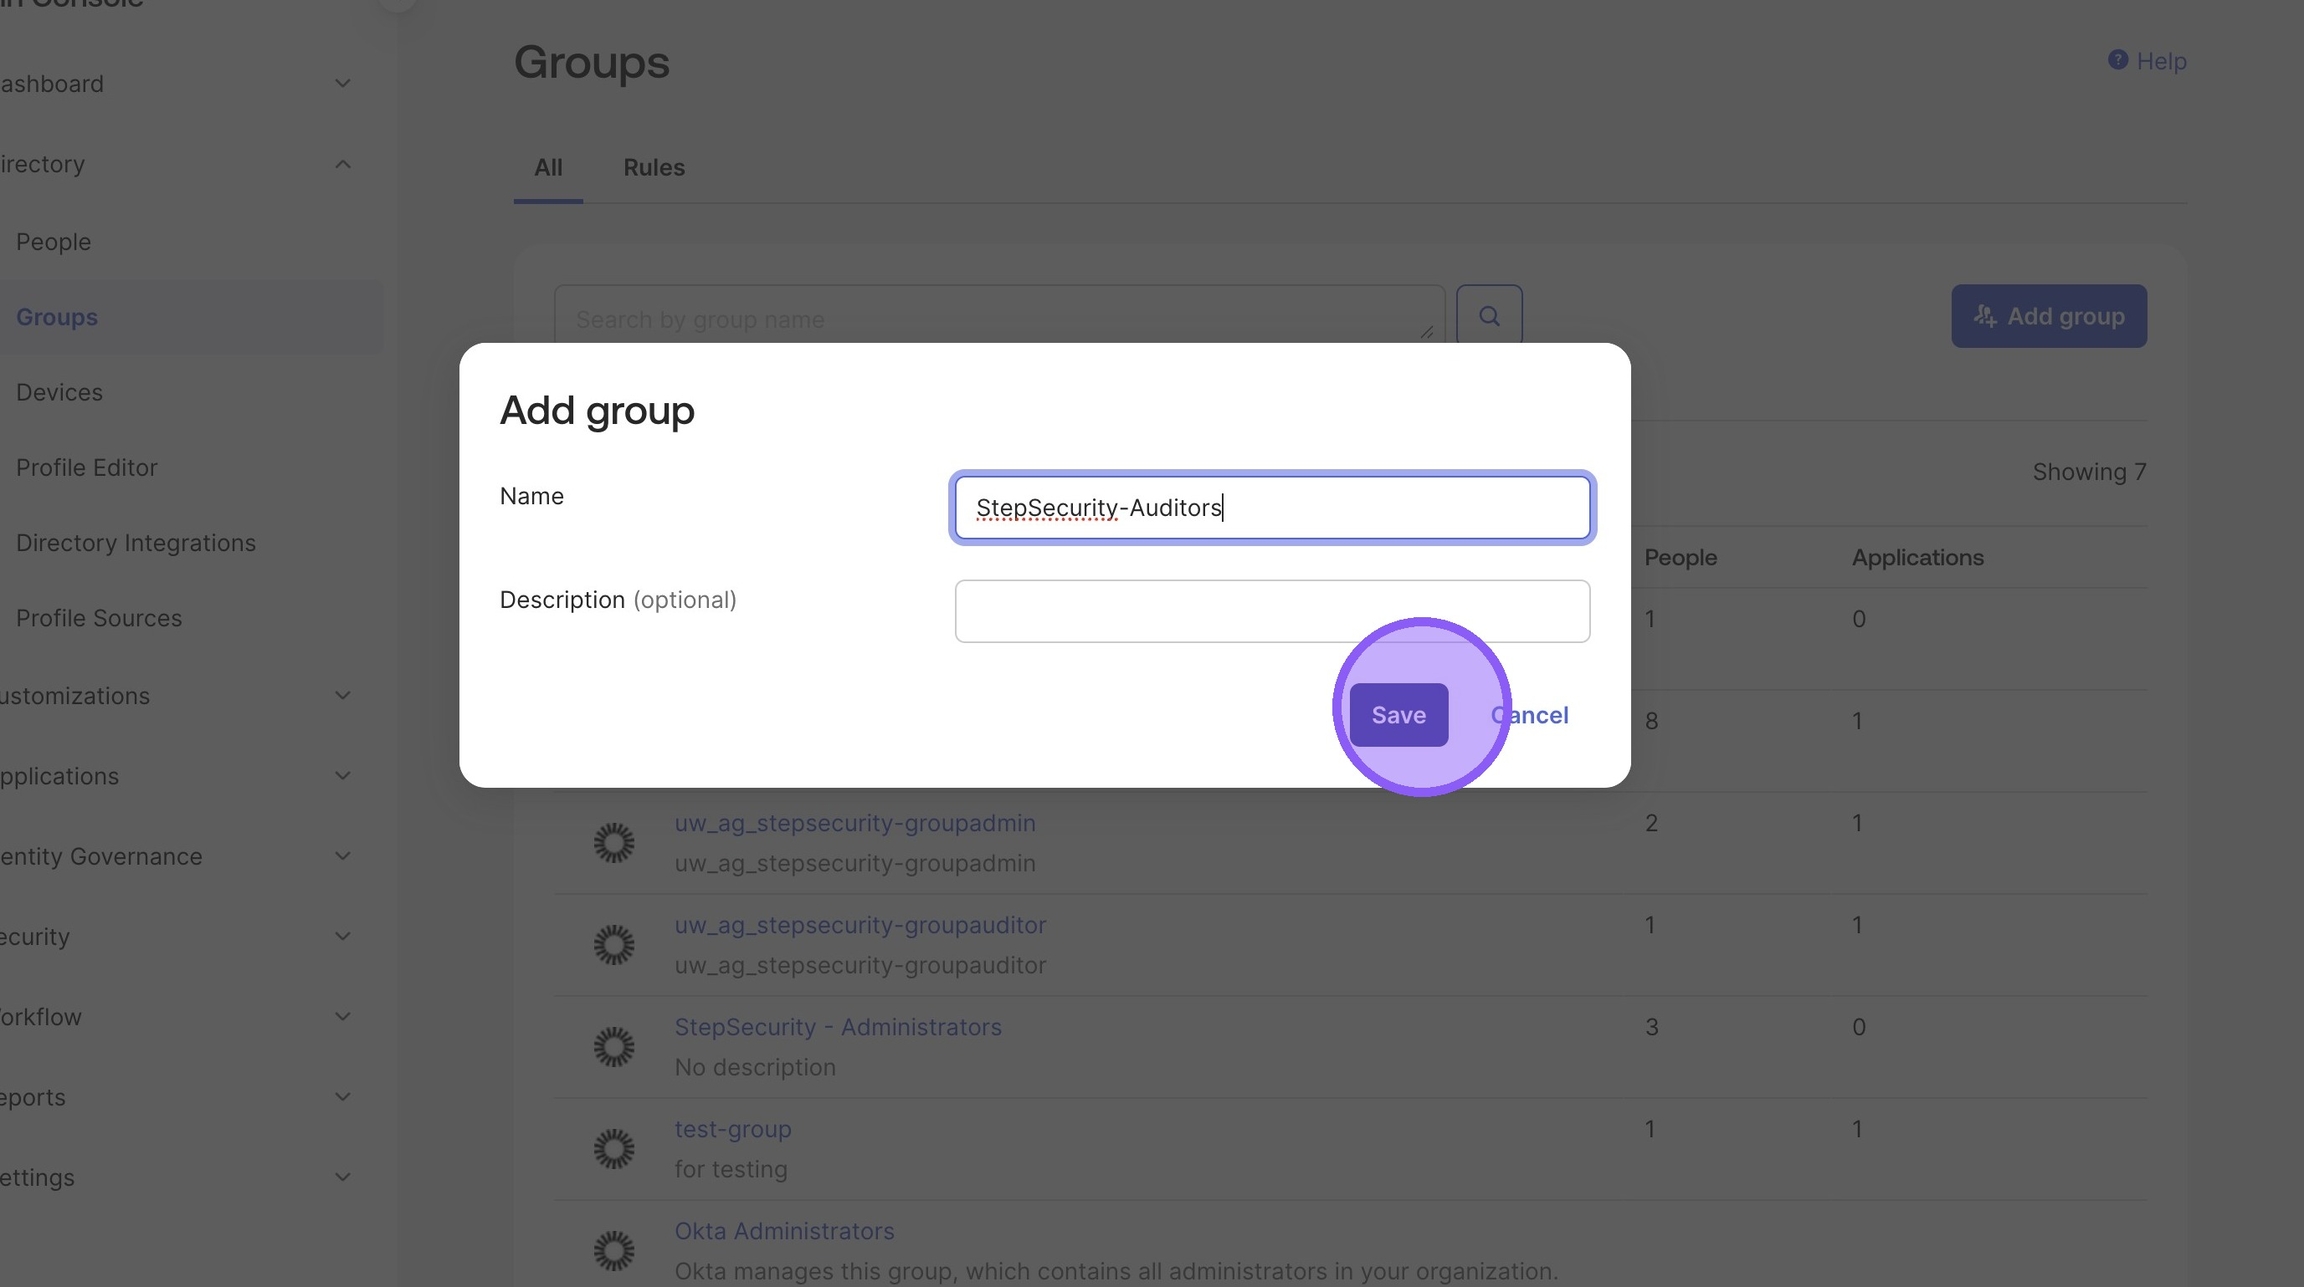
Repeat the same steps to create StepSecurity-Administrators
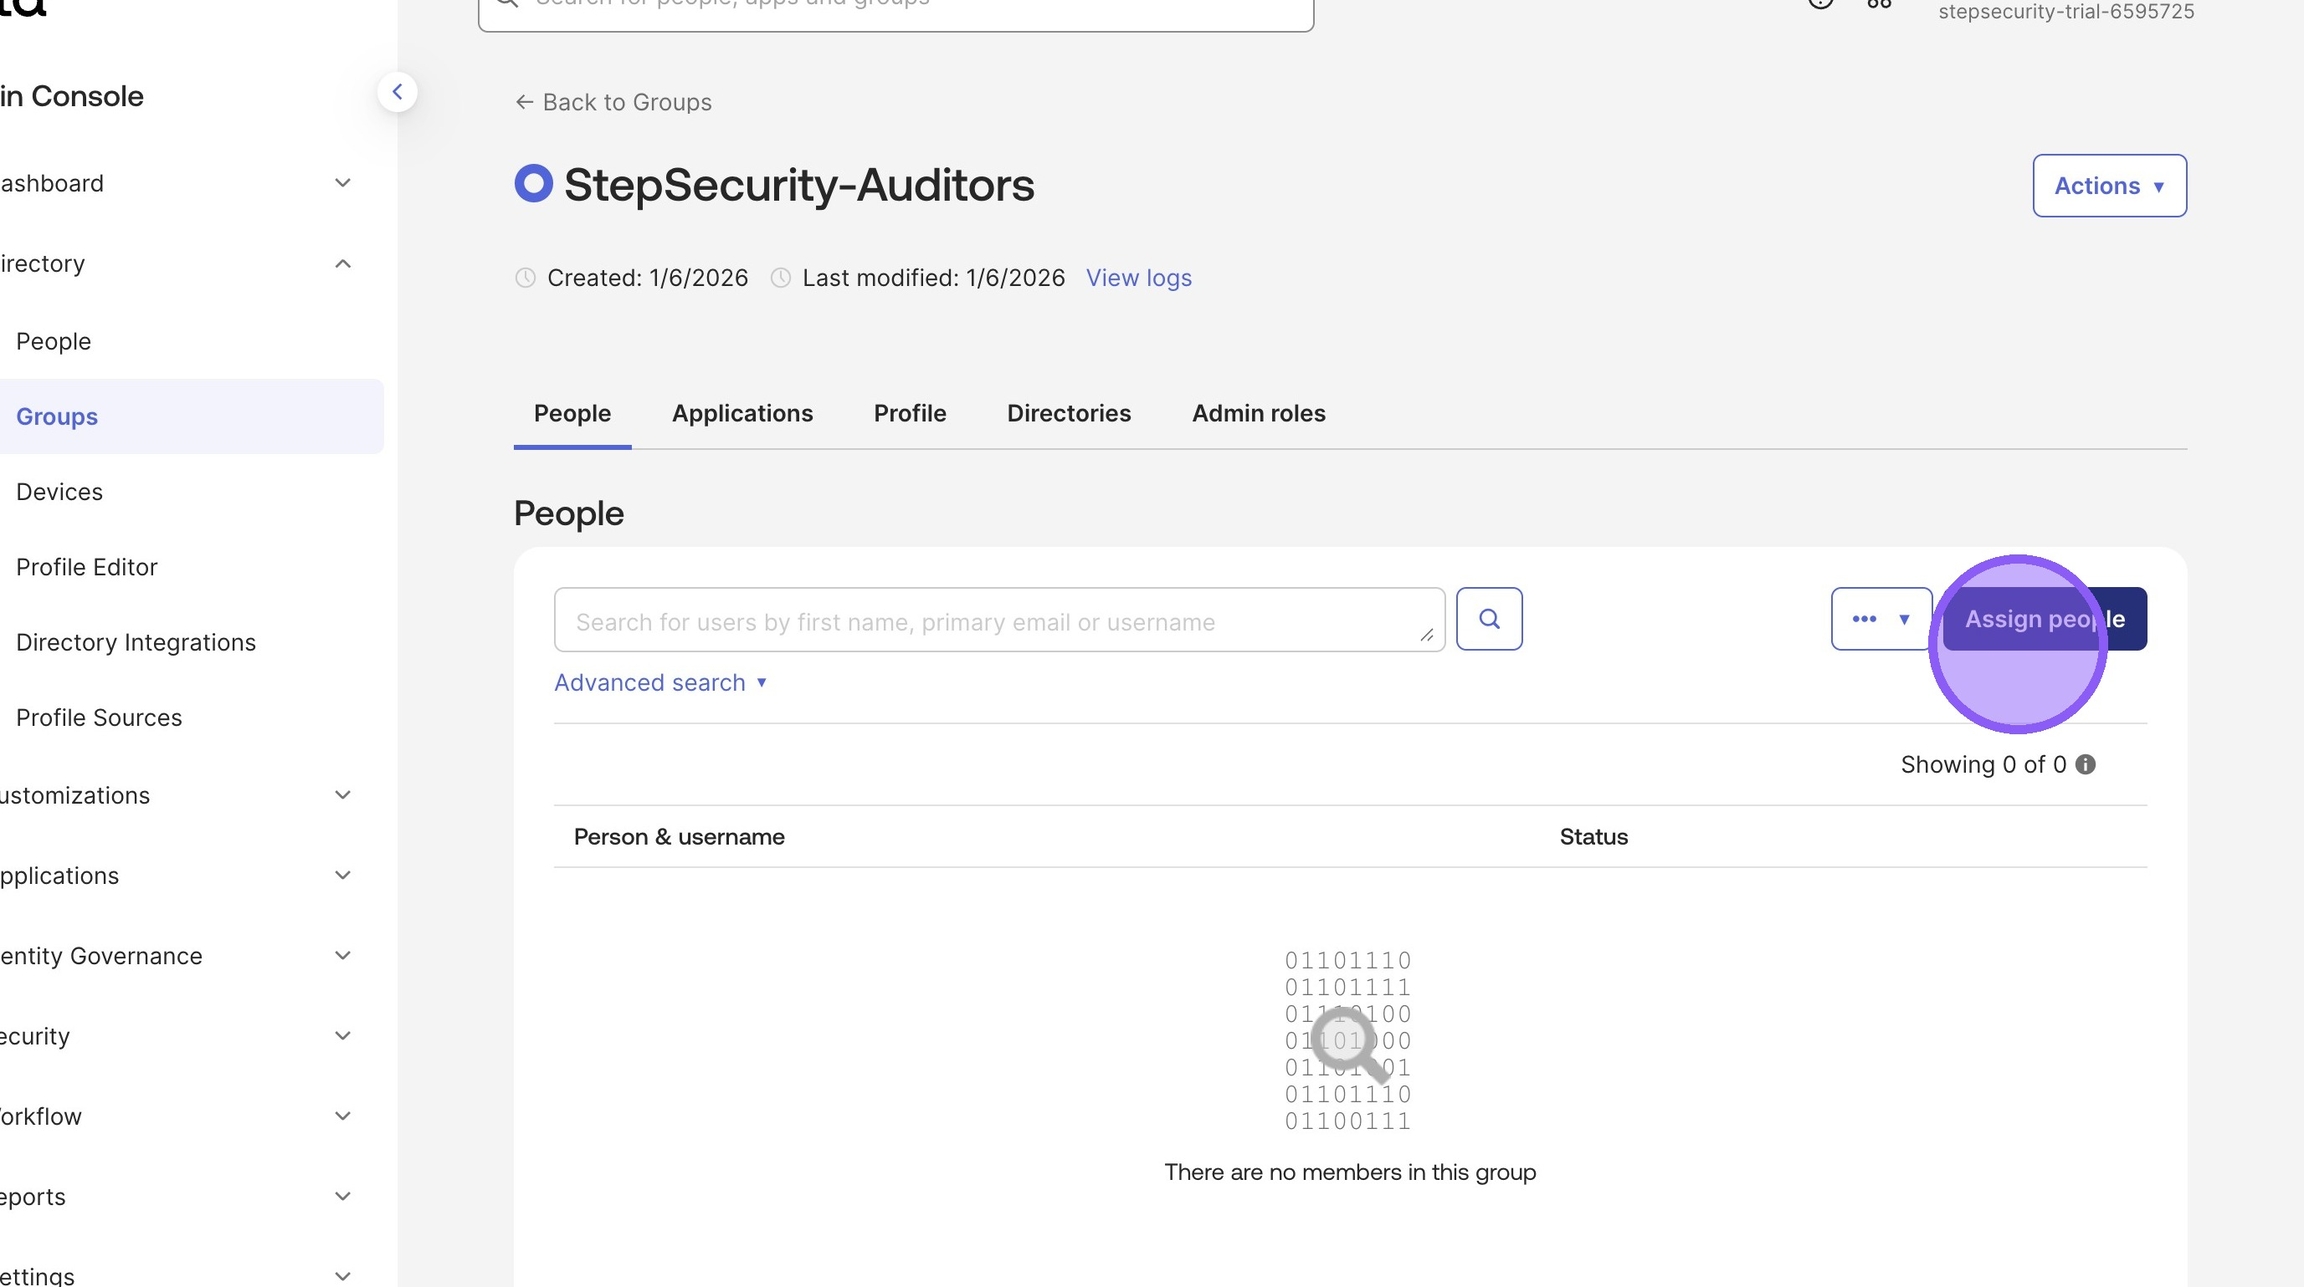
6. To add users to a group, select the group and click Assign people
Choose Matches regex and enter this regex
.*StepSecurity.*

You should only pass specific groups to the StepSecurity platform. If the app passes all group memberships, it may exceed the maximum request body size
This enables StepSecurity’s SCIM-like functionality — for example, you can use Okta groups and map them to roles in the StepSecurity dashboard.
Step 8: For Idp Initiated login(Optional)
In the Okta Admin Console, navigate to StepSecurity app → Sign On → Settings → Edit, then paste the Default Relay State value (copied from the StepSecurity App) into the SAML 2.0 section (For IDP initiated login)

Step 9: Assign User to Application
Ensure you are added to the Okta application as a user so you can access it.
To do this, go to the Applications section, click "Assign Users to App", select both the application and the user you want to assign, then confirm the assignment.

Step 10: Save Settings
Scroll down keeping the default values, then click Next.
Step 11: Share Metadata URL
After finishing, you will see a screen displaying the Metadata URL. Copy this URL.

On the StepSecurity App share the Email Domains and Metadata URL gotten from the Okta App and submit the configuration. Ping the StepSecurity team on Slack or email, then wait for the StepSecurity Operations Team to update your tenant

Step 12: Confirm SSO Setup
On the StepSecurity → Security & Auth page, you can test your SSO integration.
To verify that the SSO flow is working, follow these steps:
Authorize your email address for SSO access: Navigate to the Admin Console -> Members and click "Add Members".
Select SSO as the Authentication Type and add your email as an authorized member.
Log out of your current StepSecurity session.
Go to
https://app.stepsecurity.io/loginand log in using SSO.Confirm that you can successfully access the dashboard.
For additional confirmation, go to Admin Console → Security & Auth, then in Step 3 of the Okta SSO configuration, click "Run SSO Test". Verify that all checks on the test page pass successfully

Step 13: Add Members
Important: If any changes are made to SSO group membership in Okta (for example, adding or removing a user from a group), the affected user must log out and log back into StepSecurity for the updated group access and role mappings to take effect immediately otherwise it will be reflected once the sso session is renewed.
Every SSO identity must be explicitly authorized in the StepSecurity dashboard. You can do this in two different ways:
Authorize Individual users
Authorize Okta groups

To authorize individual users:
The user must also be explicitly authorized to access the Okta application, either by assigning the user directly to the app or by assigning a group the user belongs to.

Once the user is authorized in Okta in your StepSecurity dashboard navigate to Admin Console -> Members

Click "Add Members" and select the SSO option
Add the user's email address

To authorize Okta groups:
Ensure that the Okta group is authorized to use the Okta application

Once the group is authorized in Okta in your StepSecurity dashboard navigate to Admin Console -> Members
Click "Add Members" and select the SSO Group option
Add the SSO group

For more details on adding members to your StepSecurity dashboard, visit this documentation.
Last updated
Was this helpful?